How to Add Subtitles to a Video: Phone, PC and Online
Learn how to add subtitles to video on phone, PC or online. Burn them in for Reels or export SRT for YouTube, with Hindi and Hinglish tips.


On this page
- What does it mean to add subtitles to a video?
- Which method should you pick?
- How to add subtitles to a video online with an AI tool
- How do I add subtitles on my phone?
- How to add subtitles on a Windows PC with Clipchamp
- How do I add subtitles to a YouTube video?
- How to add subtitles to a video with an SRT file
- Where SRT files work
- Hindi, Hinglish and mixed speech: which script should you use?
- How to add subtitles faster in GetNixa
- Common mistakes and how to fix them
- Quick checklist before you post
- Wrapping up
- Frequently asked questions
Want to know how to add subtitles to a video without spending an evening typing? You have three good routes: an online AI tool, a desktop editor, or the platform you post on. This guide shows each one, step by step, on phone and PC.
Quick answer: Upload your clip to an auto subtitle tool, pick the spoken language and let it write timed text. Fix any wrong words, choose a style, then export. Burn the text into the MP4 for Reels and WhatsApp, or download an SRT file for YouTube and desktop editors.
What does it mean to add subtitles to a video?
Subtitles are the lines of text that show what people say on screen, timed to their speech. You can attach them in two ways, and the choice decides where your video will work.
Burned-in subtitles (also called open or hardcoded subtitles) are part of the picture itself. Nobody can switch them off, so they show up everywhere, even on apps with no caption support.
Soft subtitles sit in a separate file next to the video. The viewer can turn them on or off. The most common file is SRT, a plain text file that lists each line with a start and end time.
People often mix up captions and subtitles. In everyday use, captions also include sounds like [music] or [laughs], while subtitles carry only speech. For social media, most creators use the words interchangeably.
| Type | Can viewers turn it off? | Best for | File you share |
|---|---|---|---|
| Burned-in (open) | No | Reels, Shorts, WhatsApp, ads | One MP4 |
| Soft (closed) | Yes | YouTube long videos, courses, films | MP4 plus SRT |
| Transparent overlay | No, once placed | Pro editors who style in Premiere or DaVinci | A .mov caption layer |

Which method should you pick?
Start from where the video will be watched. Then match the method to your device and your time.
- Use an online AI tool if you post short vertical videos and want styled, word-by-word captions fast.
- Use YouTube Studio if the video lives on YouTube and you want viewers to toggle subtitles or pick a language.
- Use a desktop editor if you already cut your video in one and want full control over every frame.
- Type an SRT by hand if the clip is under a minute, the audio is unclear, or no tool supports the language well.
How to add subtitles to a video online with an AI tool
This is the quickest route for most creators. An auto subtitle generator listens to the audio, writes the words and times each one to the voice. Your job is to check it and style it.
- Upload the clip. Use the final cut, so the timing does not shift after you edit again.
- Choose the spoken language. Pick what people actually say, not the language you want on screen.
- Let the AI transcribe. It splits the speech into short, timed lines for you.
- Proofread every line. Fix names, brand words, numbers and slang. Play it once at normal speed.
- Style and position. Pick a font, colour and size that read well on a small screen. Keep text clear of faces and buttons.
- Export. Download an MP4 with the text burned in, an SRT file, or both.

Tip: Cut long pauses and dead air before you caption. Shorter gaps mean tighter timing and fewer one-word lines floating on screen.
How do I add subtitles on my phone?
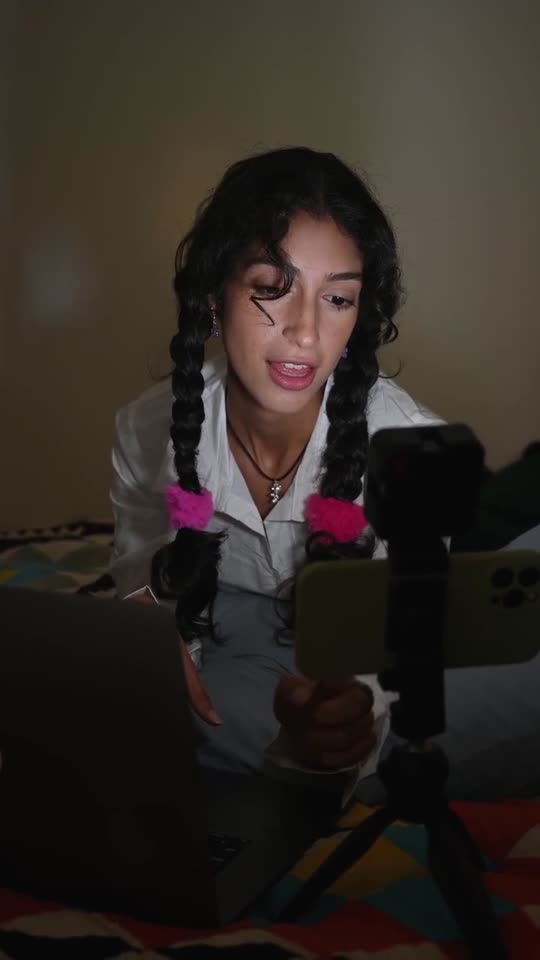
Most Indian creators shoot and post from a phone, so this matters. The simplest way is a web-based caption tool opened in your phone browser. You upload the clip, fix the words with your thumb, and download the finished MP4 to your gallery.
Social apps also have their own caption options. But these change often and can depend on your region, app version and spoken language. So check inside your app before relying on them, and test with a short clip first.
A few phone habits save time and mobile data:
- Upload on Wi-Fi if your clip is longer than a minute.
- Export at 1080p, which is enough for Reels and Shorts.
- Free up storage first, because the subtitled export is a new file.
- Preview with the sound off. That is how many people will watch it.
How to add subtitles on a Windows PC with Clipchamp
Clipchamp is Microsoft’s editing app, and it has a built-in autocaptions feature. These steps follow Microsoft’s official Clipchamp help page for the personal version.
- Import your video. Open My media on the toolbar and browse your files, or bring it in from cloud storage.
- Drag it to the timeline. The clip needs a voice track for captions to work.
- Open captions. Click the captions icon in the preview, or go to the captions tab in the property panel.
- Pick the language and transcribe. Choose the transcription language, decide whether to filter offensive words, then click transcribe media.
- Fix the transcript. Double-click a word in the captions tab to correct it.
- Style and export. Change font, colour and position in the Text tab, then export. You can also download the captions as an SRT file.
Microsoft says one transcript works in one language per video. So mixed Hindi and English speech may need extra cleanup. Check its language list before you start if you speak an Indian language.
How do I add subtitles to a YouTube video?
YouTube lets you add soft subtitles that viewers can switch on with the CC button. According to YouTube Help, the flow in YouTube Studio is:
- Open Subtitles. Sign in to YouTube Studio and select Subtitles in the left menu.
- Choose the video. Click it, then click Add language and pick the language.
- Click Add under subtitles. You will see three options.
- Upload, auto-sync or type. Upload a file with or without timing, paste a transcript for auto-sync, or type manually while the video plays.
- Save or publish. Review the lines and save.
YouTube accepts SRT along with several other subtitle file formats. So the easiest path is often to make an SRT elsewhere, then upload it with timing.
How to add subtitles to a video with an SRT file
An SRT file has four parts per line: a number, a time range, the text, and a blank line. Times use hours, minutes, seconds and milliseconds, with a comma before the milliseconds.

You can type one in Notepad or any text editor and save it with the .srt extension in UTF-8. UTF-8 matters for Hindi, because other encodings can turn Devanagari into boxes or question marks.
Typing by hand works for short clips. For anything longer, an SRT generator writes the timings for you. Then you only correct the words.
Where SRT files work
YouTube, most desktop editors and most media players can read SRT. Instagram and WhatsApp do not use separate subtitle files in normal posts, so for those you need burned-in text.
Hindi, Hinglish and mixed speech: which script should you use?
This is where many tools trip up. Indian creators rarely speak one clean language. A sentence like “aaj ki recipe super easy hai” mixes Hindi grammar with English words.
- Devanagari Hindi suits audiences who read Hindi daily, news style content and older viewers.
- Hinglish means Hindi written in English letters. It suits young, urban audiences who text this way.
- English translation helps if you want viewers outside India or across states.
Pick one script per video and stay with it. Switching between Devanagari and Roman letters mid-video looks messy and slows reading.
Note: Many auto tools pick only one language per video. When speech mixes Hindi and English, expect to fix English words that come out in Devanagari, or the other way round.
How to add subtitles faster in GetNixa
GetNixa is one option built with Indian speech in mind. You upload the video in the web app or the Mac and Windows desktop app, then pick the spoken language from 30, including Hindi, Hinglish, Tamil, Telugu, Bengali and Marathi.
The AI writes captions timed to the voice. Then you click any word to fix it, pick a template, and change font, colours, position and animation. Hindi can come out in Devanagari or as Hinglish, and any language can be translated to English captions.
You can burn subtitles into the video as an MP4 for Instagram, Shorts or WhatsApp, or download an SRT on any plan. The Free plan has no watermark and covers videos up to 2 minutes. There is also a short guide on the subtitle tool page.
Common mistakes and how to fix them
| Mistake | What happens | Fix |
|---|---|---|
| Captioning before the final edit | Text drifts out of sync | Lock the cut first, then caption |
| Too many words per line | Viewers cannot finish reading | Split into short lines of a few words |
| Text over the bottom UI | Buttons and captions overlap | Move text up to the middle third |
| Wrong file encoding | Hindi shows as boxes | Save the SRT as UTF-8 |
| Skipping the proofread | Names and numbers come out wrong | Watch once with sound before export |
If a soft subtitle file does not show up, check that it has the .srt extension and not .srt.txt. Windows sometimes hides the real extension, so turn on file extensions in File Explorer.
Quick checklist before you post
- Every word matches the audio, including names.
- Lines are short and break at natural pauses.
- Text has strong contrast with the background.
- Nothing covers faces, products or app buttons.
- You exported the right format for the platform.
Wrapping up
Subtitles make your videos easier to follow with the sound off, in noisy places and across languages. Choose burned-in text for social posts and an SRT for YouTube, then proofread once before you publish.
Turn your next clip into a captioned video in minutes. Upload it, pick Hindi, Hinglish or any of 30 languages, fix a few words and export without a watermark.
Frequently asked questions
How can I add subtitles to a video for free?
Use a free online caption tool, Clipchamp’s autocaptions, or YouTube Studio’s subtitle editor. Each one lets you create timed text without paying. Free plans usually limit video length or minutes, so check the limits. GetNixa’s Free plan gives 30 caption minutes a month with no watermark.
How do I permanently add subtitles to a video?
Burn them in. That means exporting the video with the text drawn onto the picture, so it cannot be switched off. Most online caption tools and desktop editors offer this as an MP4 export. Keep a copy of the original video and the SRT in case you need to fix a line later.
Can I add subtitles on my phone?
Yes. Open a web-based caption tool in your phone browser, upload the clip, fix any wrong words and download the subtitled MP4 to your gallery. Some social apps also offer captions inside the app, but options vary by region, app version and spoken language, so test first.
What is the best subtitle format?
SRT is the most widely supported format. It is a plain text file with numbered lines, start and end times and the words. YouTube, most editors and most media players read it. For Reels and WhatsApp, use burned-in subtitles instead, because those apps do not load separate files.
Should Hindi subtitles be in Devanagari or English letters?
It depends on your audience. Devanagari suits viewers who read Hindi daily. Hinglish in English letters suits younger, urban viewers who chat that way. Pick one script for the whole video and keep it consistent, because switching scripts mid-video makes captions harder to read.

Written by
GetNixa Team
The team behind GetNixa, the AI caption app for Indian creators. We write practical guides on captions, editing and growing on Instagram and YouTube.